
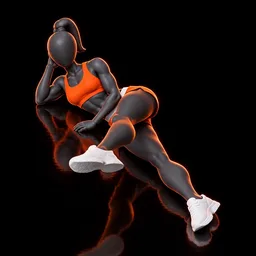
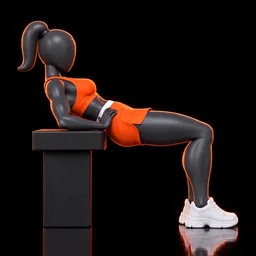
A glute bridge is a floor exercise where you lie on your back with knees bent and lift your hips by pressing through your heels. It trains mainly the glutes, with help from the legs. It suits beginners, desk workers and anyone who wants a simple, equipment-free way to train the hips at home.
How to do a glute bridge
You need a floor and, ideally, a mat. Both legs work at the same time, and there is no jumping.
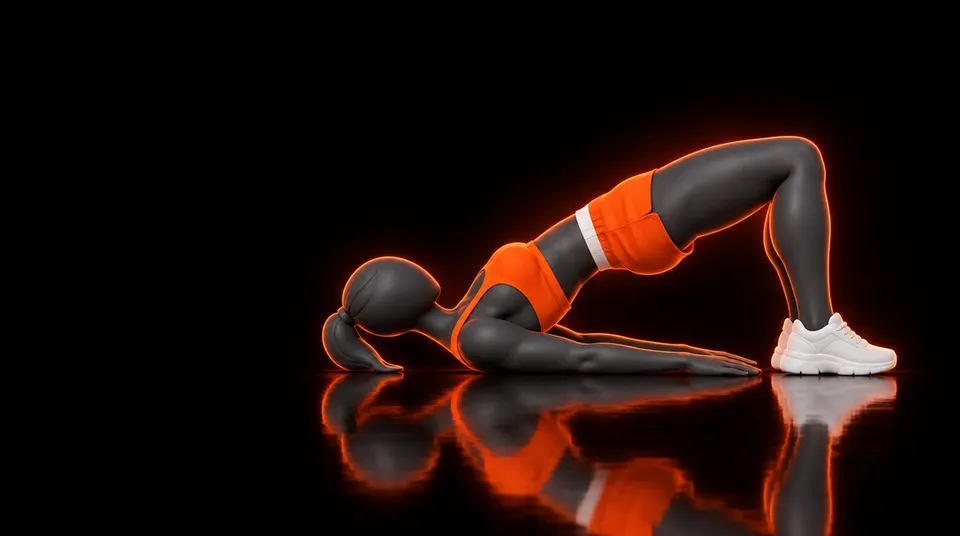
- Lie on your back with your knees bent and your feet flat on the floor, about hip-width apart. Place your arms by your sides, palms down.
- Set your feet so your heels sit roughly 8 to 12 inches (20 to 30 cm) from your hips. Your fingertips should almost brush your heels.
- Gently brace your belly so your ribs stay down and your lower back is relaxed on the floor.
- Press through your heels and drive your hips up toward the ceiling.
- Stop when your body forms a straight line from your shoulders to your knees. Do not push higher than that.
- Squeeze your glutes at the top for a moment.
- Lower slowly, taking a couple of seconds, until your hips just touch the floor. Then start the next rep.
The app’s tip is worth remembering: don’t arch your lower back. The work should come from your glutes.
Muscles worked
The glute bridge mainly trains your glutes, the big muscles that extend your hips. Your legs help too, especially the back of the thighs, while your core works to keep your torso steady.
Strong glutes help with everyday tasks like climbing stairs, standing up from a chair and walking. They also support other lower-body moves such as squats and lunges.
Common mistakes and how to fix them
Arching your lower back
If you push your hips too high, your back bends instead of your hips extending. You may feel it in your lower back. Stop at a straight line from shoulders to knees, keep your ribs down and think about squeezing your glutes, not lifting your chest.
Feeling it in your hamstrings or front of the thighs
Your feet may be too far from or too close to your hips. If the back of your thighs cramp, move your feet a little closer. If the front of your thighs burns, move them slightly farther away. Keep pressing through your whole heel.
Rushing the lowering phase
Dropping fast wastes half the rep. Lower slowly and keep your glutes working all the way down.
Skipping the squeeze
A quick touch at the top is easy to rush. Pause briefly and squeeze your glutes before you lower.
Letting your knees fall in or out
Keep your knees pointing in the same direction as your toes. If they drift, reset your foot position and press evenly through both feet.
Easier and harder variations
The glute bridge is already a beginner move, so the easiest path is simply to use fewer reps and a smaller lift while you learn the pattern. When it feels comfortable, try one of these harder options from the app:
- Hip Thrust: a deeper hip extension that asks more from your glutes.
- Curtsy Lunges: a standing move that adds balance and single-side work.
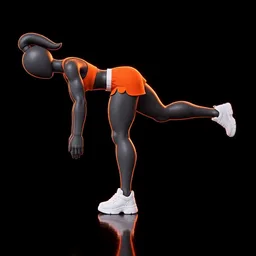
- Single-Leg Deadlift: a balance challenge that trains each side on its own.
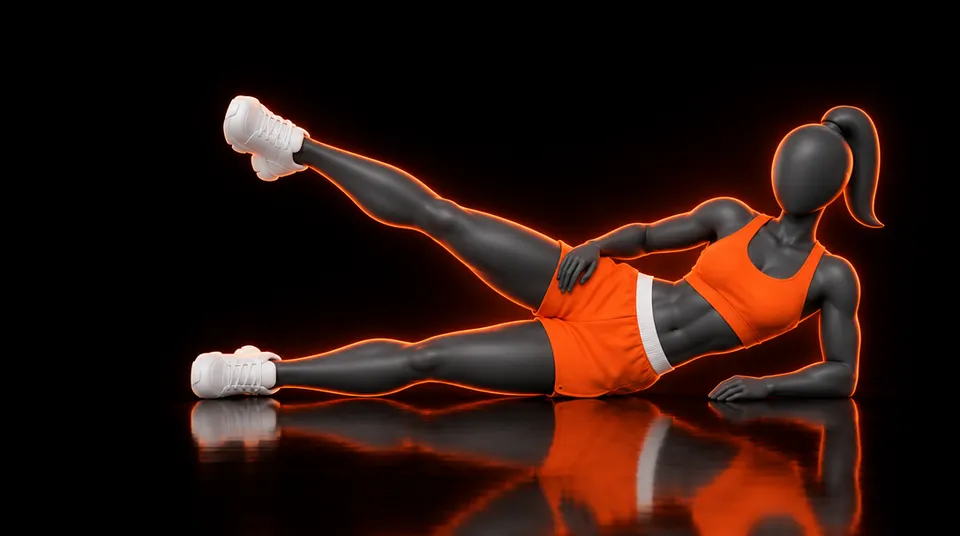
For similar moves that train the hips from other angles, try Side-Lying Leg Raises, Side Kick Series or Banded Side Steps.
Sets and reps for beginners and more advanced people
The app’s standard set at intermediate level is 15 reps. Beginners get about a quarter less, and advanced people about a third more.
As a general starting point, many people do 2 to 3 sets, resting 30 to 60 seconds between sets. Choose a number of reps that lets you keep good form, with the last couple of reps feeling challenging but controlled.
| Level | Suggested approach |
|---|---|
| Beginner | About a quarter fewer than the standard, 2 sets, slow lowering |
| Intermediate | The standard of 15 reps, 2 to 3 sets |
| Advanced | About a third more than the standard, 3 sets, then try a harder option |
If you want to know how long to hold the top, a pause of 1 to 2 seconds with a firm squeeze is plenty for most people.
What about 100 glute bridges a day?
There is no need for that. Doing a huge number of easy reps is less useful than doing controlled sets and gradually making the move harder. Quality reps and regular practice matter more than a big daily total.
Calories
A glute bridge is a modest-effort move. For a 70 kg (154 lb) person, 10 minutes of work comes to about 43 kcal (MET 3.5). For your own body, try the Calories Burned Calculator.
Glute bridge vs. hip thrust
The two moves are close cousins. In a glute bridge, your back and shoulders rest on the floor and the range of motion is short. In a hip thrust, the movement is usually deeper, which makes it a natural next step once bridges feel easy.
Where it fits in your week
Glute bridges work well early in a session as a warm-up for the hips, or as a main move in a lower-body day. You will find them in these workouts:
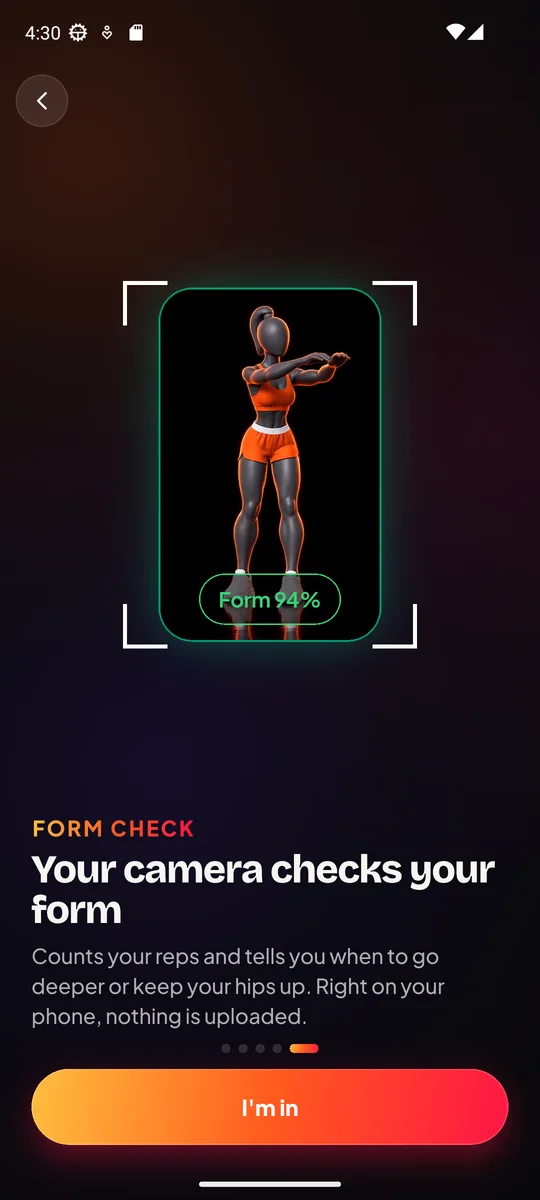
If you want the camera to count your reps and check your form, the Homie Fit app offers a live AI form check for this exercise. It runs on your device, so no video or image leaves your phone.
Who should modify or skip it
The app has no limitation flags for this move, so it suits most people. Still, listen to your body. Stop if you feel sharp pain, especially in your lower back, and check your form before trying again. If pain continues or you have a medical condition or injury, talk with a doctor or physical therapist before continuing.
Remember that exercising a muscle does not burn fat from that area. Glute bridges build strength and control, and that is a good reason to do them.